This post may contain affiliate links. Please read our policy page.
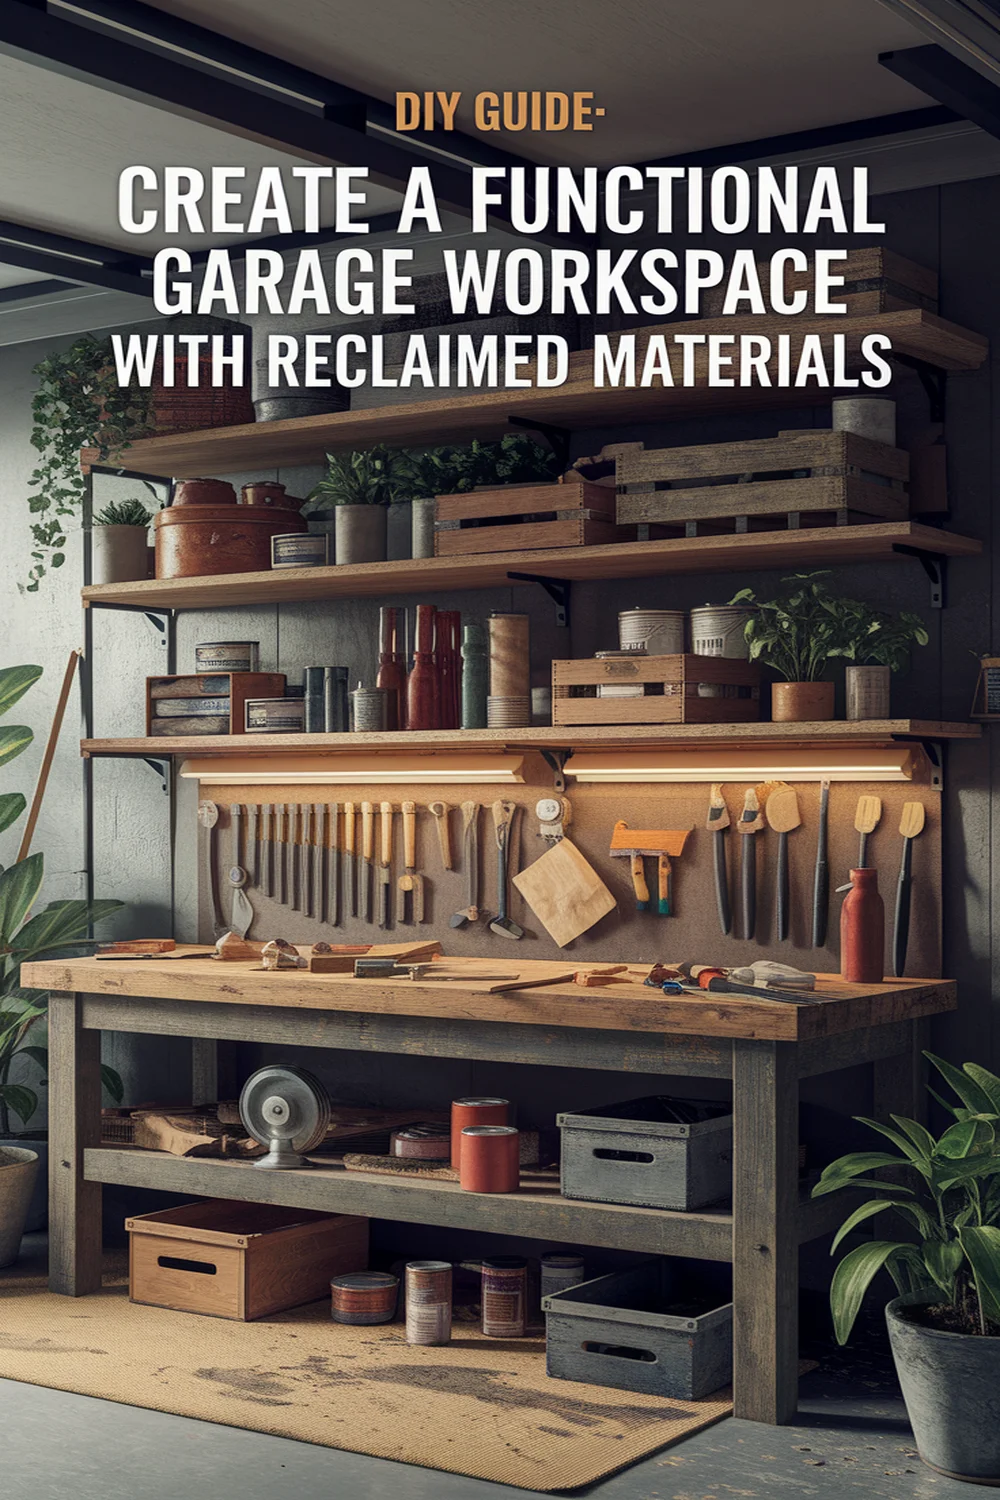
Designing a functional garage workspace using reclaimed materials has transformed my cluttered garage into a creative haven. First, I assessed my space and identified my needs. Then, I sourced unique materials from local salvage yards and thrift stores. I planned an efficient layout to maximize workflow, built sturdy workstations, and added smart storage solutions. Finally, I personalized my workspace with decor that inspires me. There’s so much more to explore about this rewarding journey ahead!
Assessing Your Space and Needs
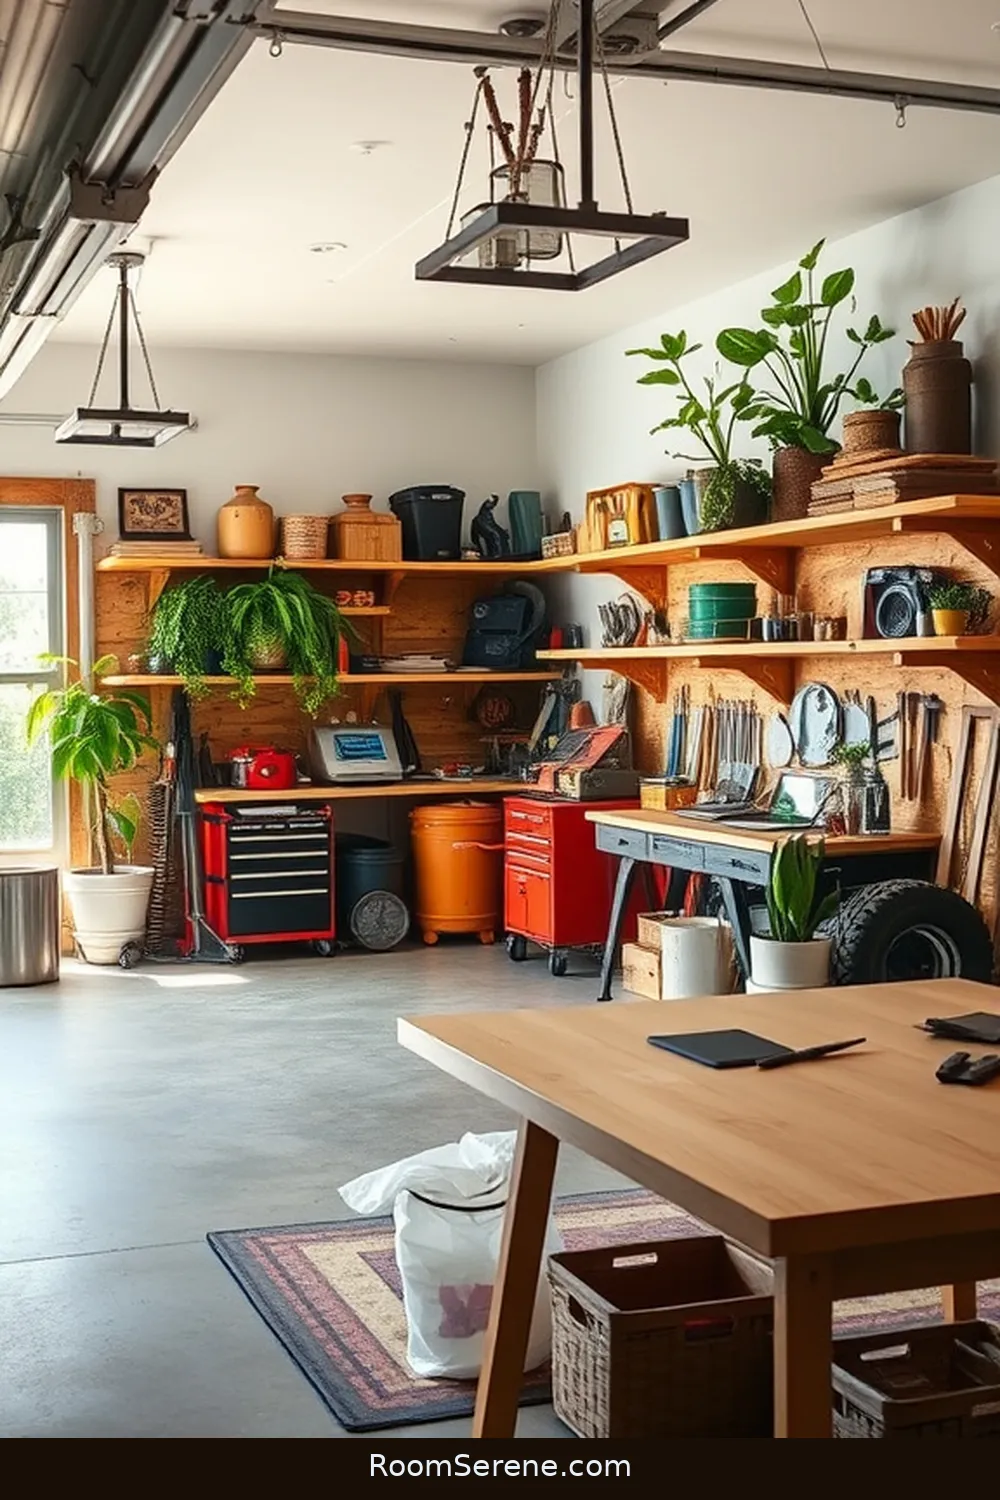
Before diving into your garage workspace design, it’s important to assess your space and needs. I recommend starting by measuring the dimensions of your garage, noting any obstacles like water heaters or shelving.
Think about how you plan to use the space. Are you focused on woodworking, crafting, or maybe automotive projects? Understanding your primary activities helps determine what tools and storage solutions you’ll need.
Next, consider your workflow. I find it helpful to visualize how I move around while working. Do you need a dedicated area for tools, materials, or a workstation?
Finally, prioritize lighting and ventilation; a well-lit, airy space makes all the difference. Taking these steps guarantees your garage workspace will be functional and tailored to your projects.
Recommended Items
Here are our recommended products and equipment to create your dream garage workspace—feel free to explore!
Sourcing Reclaimed Materials

Once you’ve assessed your space and needs, it’s time to think about sourcing reclaimed materials for your garage workspace.
Start by checking local salvage yards or architectural salvage shops; they often have a treasure trove of wood, metal, and other materials at a fraction of the cost. Online marketplaces like Craigslist or Facebook Marketplace can be goldmines for finding reclaimed items from homes being renovated.
Explore local salvage yards and online marketplaces for affordable reclaimed materials that can elevate your garage workspace.
Don’t overlook construction sites—many contractors are happy to give away leftover materials. Additionally, local thrift stores and flea markets can offer unique finds.
Always inspect materials for integrity and safety. By sourcing reclaimed materials, you’re not only saving money but also contributing to sustainability, which feels great while you work on your DIY project!
Planning Your Workspace Layout
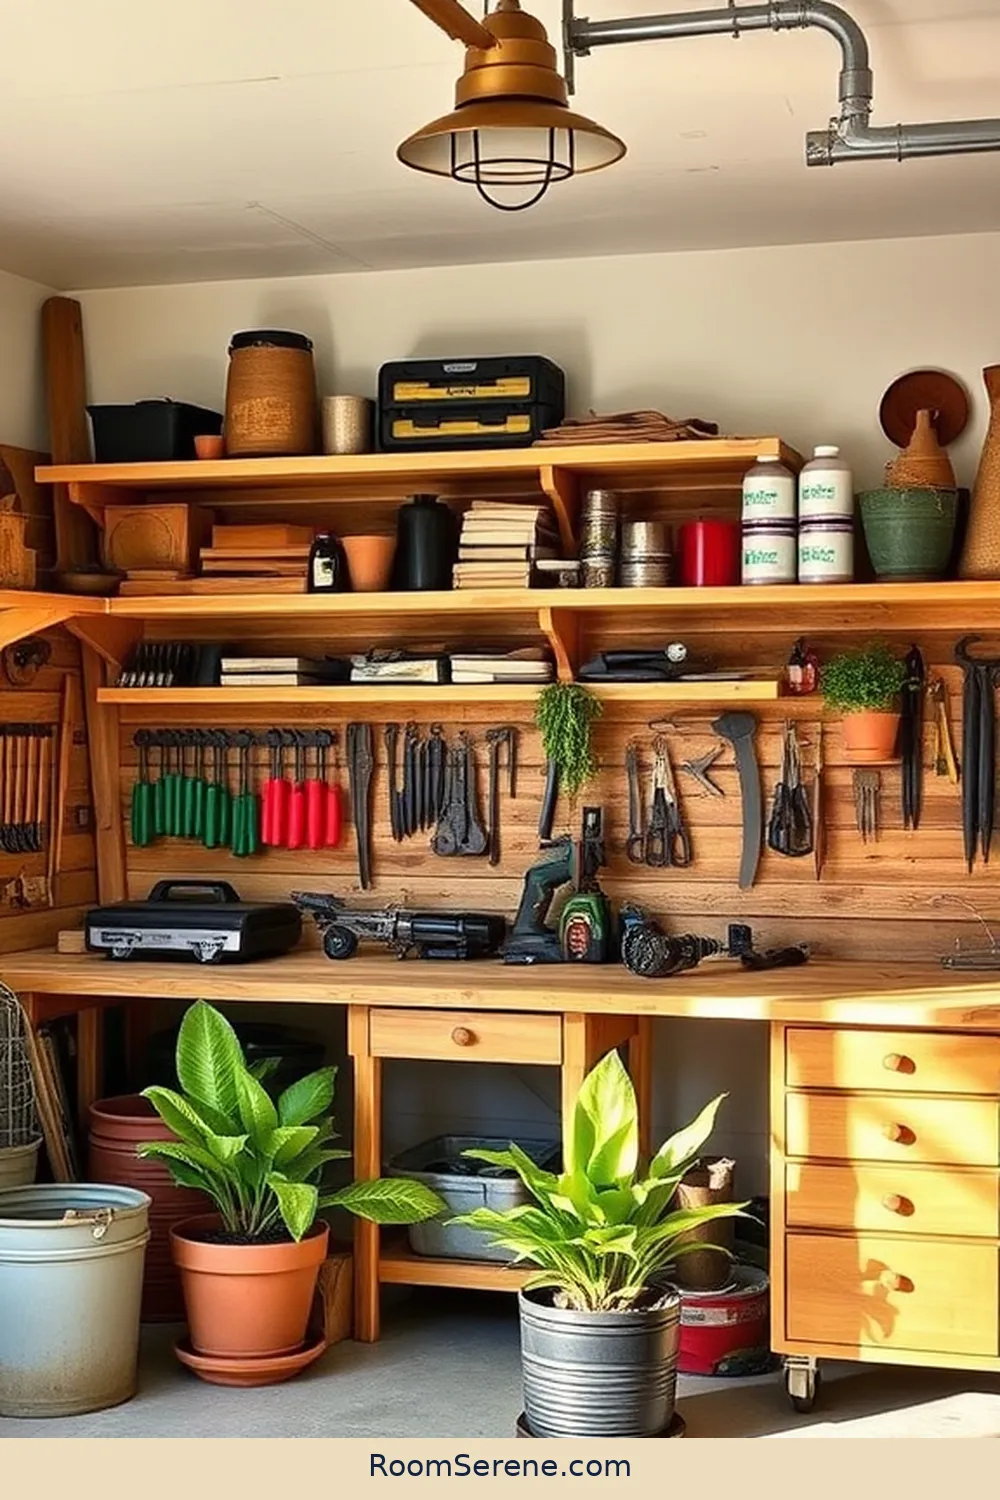
As I start planning my workspace layout, I focus on creating an efficient and functional area tailored to my specific needs. I consider the tools I use most often and how I can minimize movement while working. To help visualize my layout, I’ve organized my thoughts in the table below:
| Zone | Purpose | Materials Used |
|---|---|---|
| Workbench | Primary workspace | Reclaimed wood |
| Storage | Tool and supply organization | Old cabinets |
| Assembly Area | Projects and assembly tasks | Pallet wood tables |
| Finishing | Painting and refinishing | Reclaimed doors |
Step-by-Step Guide to Your Garage Decor
Building Functional Workstations
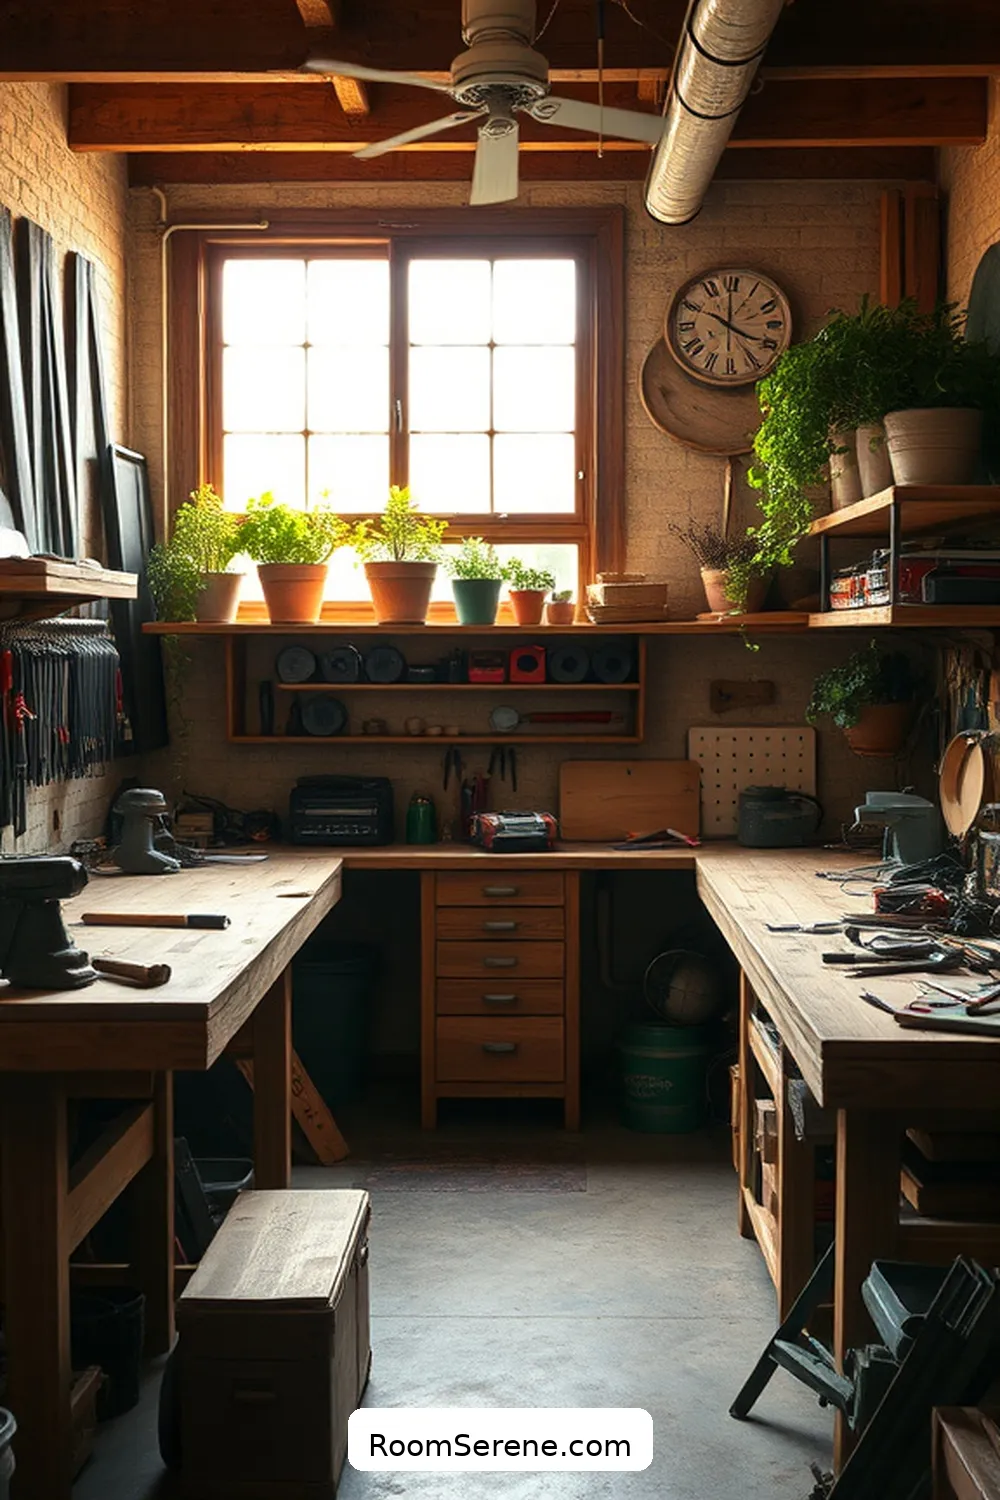
Creating functional workstations is essential for maximizing productivity in my garage workspace. I focus on specific tasks, ensuring each area is designed to cater to its function.
For instance, I’ve built a sturdy workbench using reclaimed wood, providing ample surface area for projects. I also include a designated area for power tools, ensuring they’re easily accessible yet safely stored.
Adding a pegboard above the workbench allows me to hang frequently used tools, keeping them within arm’s reach and reducing clutter. I make sure to incorporate adequate lighting, so I can work efficiently at any time of day.
Adding Storage Solutions
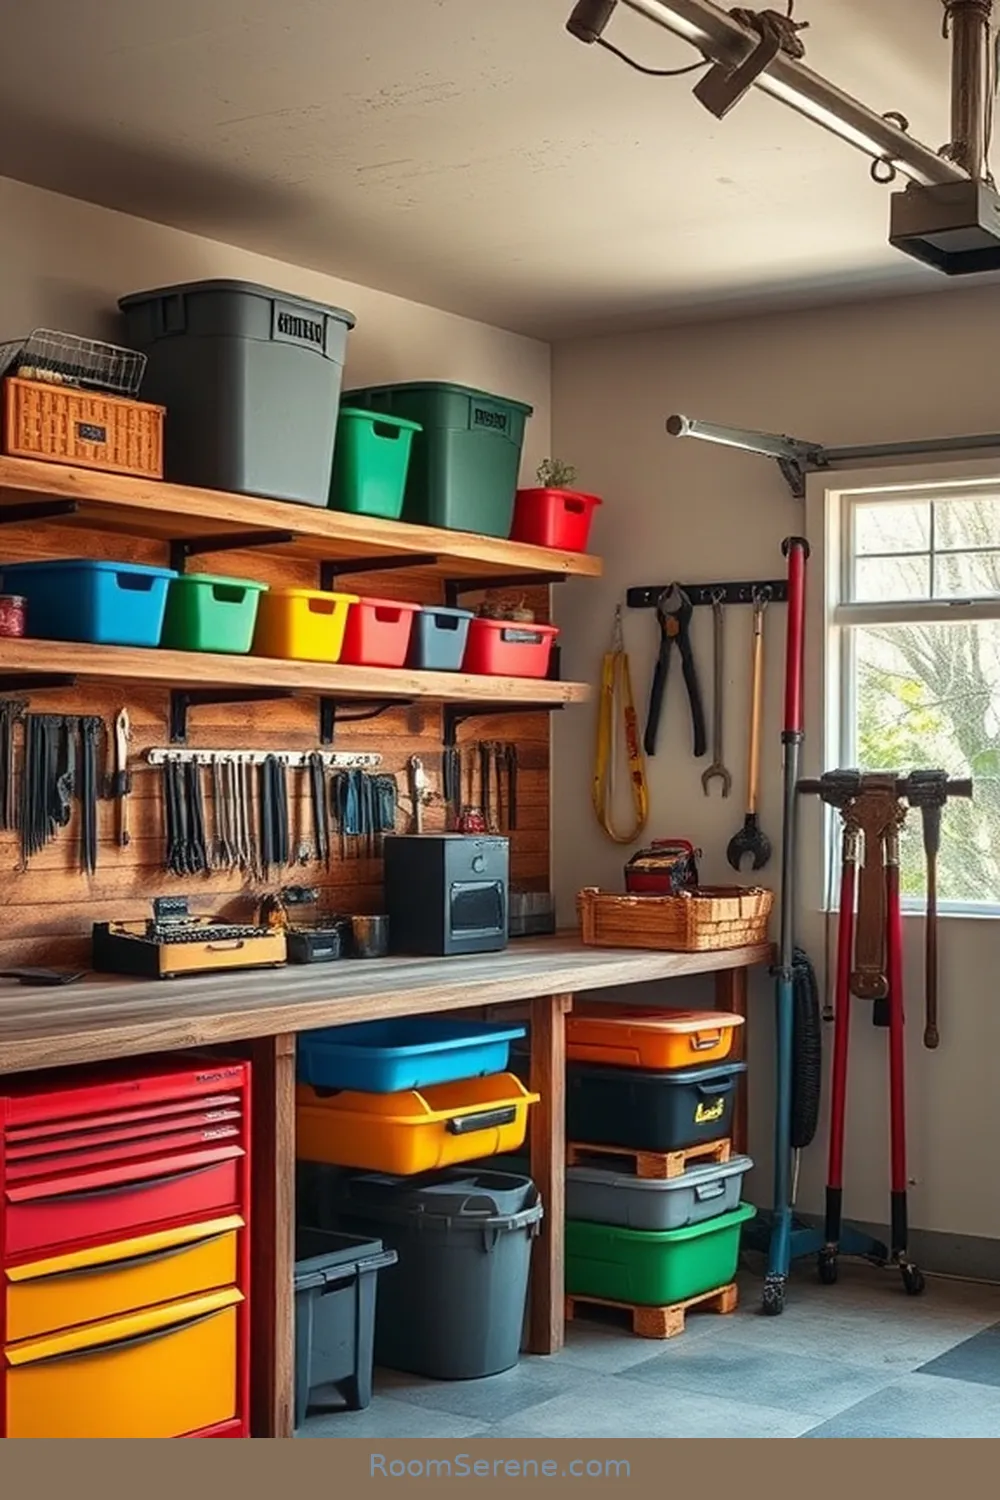
With my workstations in place, the next step is optimizing storage solutions to keep my garage organized and clutter-free.
I’ve found that using reclaimed materials, like old wooden pallets or crates, can create stylish and functional storage. Wall-mounted shelves are perfect for keeping frequently used tools within reach, while pegboards allow me to hang items like wrenches and screwdrivers, making them easy to grab.
I also repurposed vintage cabinets for storing smaller items, ensuring everything has a designated spot. Bins and baskets, labeled for quick identification, help manage miscellaneous supplies.
Personalizing Your Garage Workspace
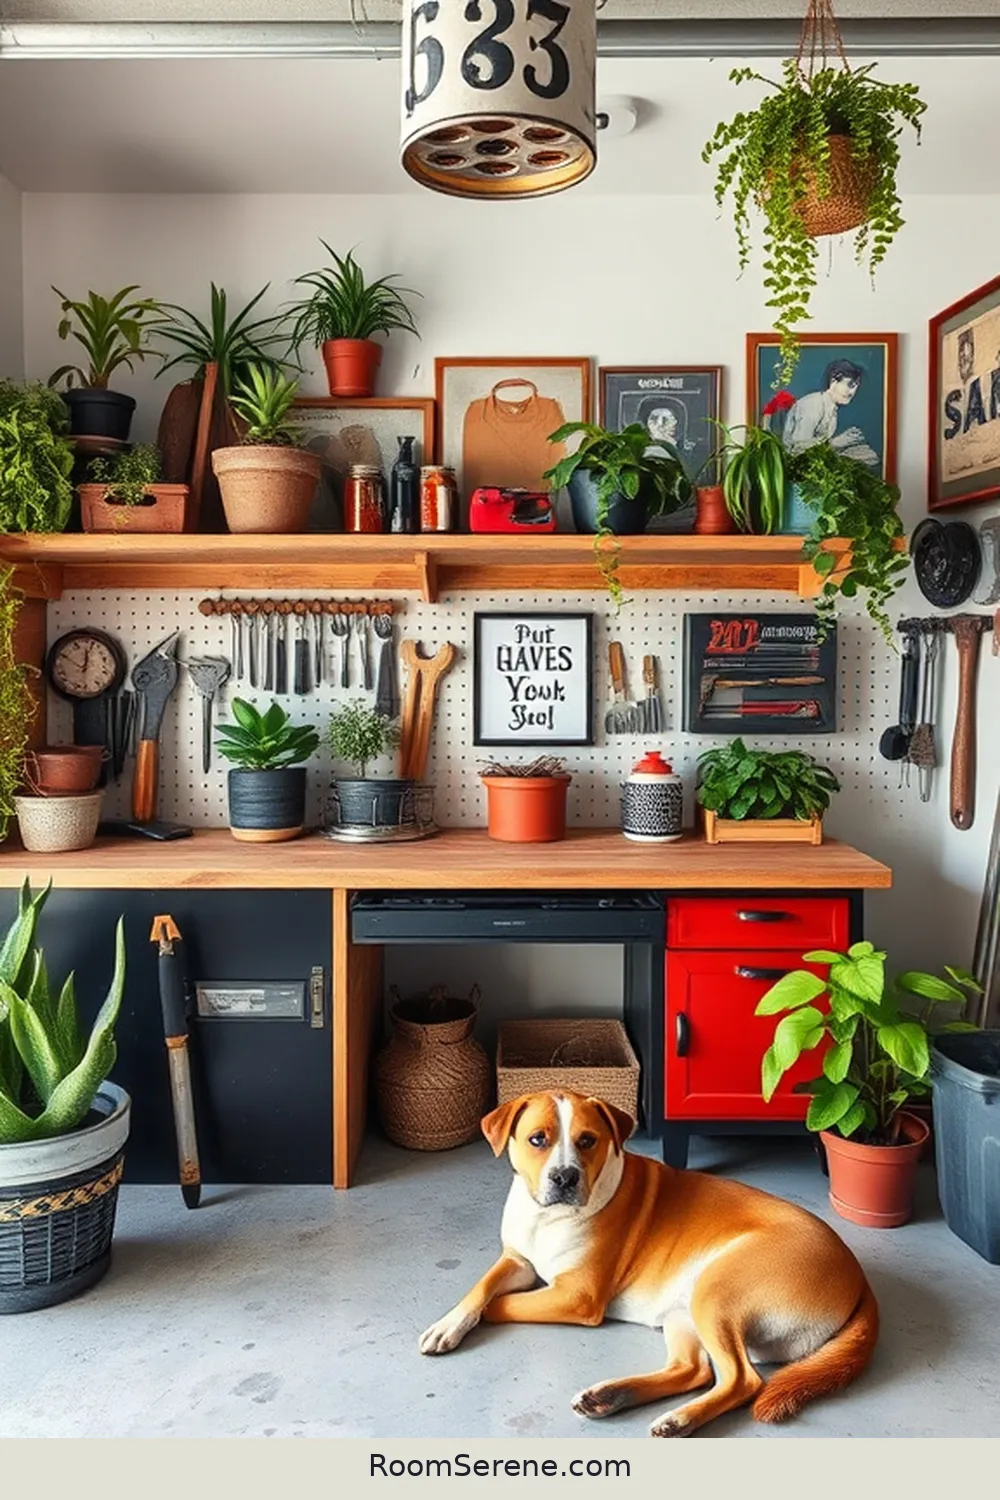
Transforming my garage workspace into a personalized haven is essential for fostering creativity and productivity. I’ve found that adding my unique touch not only makes the space inviting but also inspires me to work.
Start by choosing a color scheme that reflects your personality; I love using warm tones to create a cozy vibe. Incorporate functional decor—think wall art made from reclaimed wood or tools displayed creatively.
I also recommend creating a designated area for personal projects, complete with a vision board. Using upcycled materials for furniture adds character while being eco-friendly.
Finally, don’t forget to add personal mementos or photos that motivate you. With these tips, you’ll craft a workspace that feels truly yours and enhances your creative flow.

