This post may contain affiliate links. Please read our policy page.
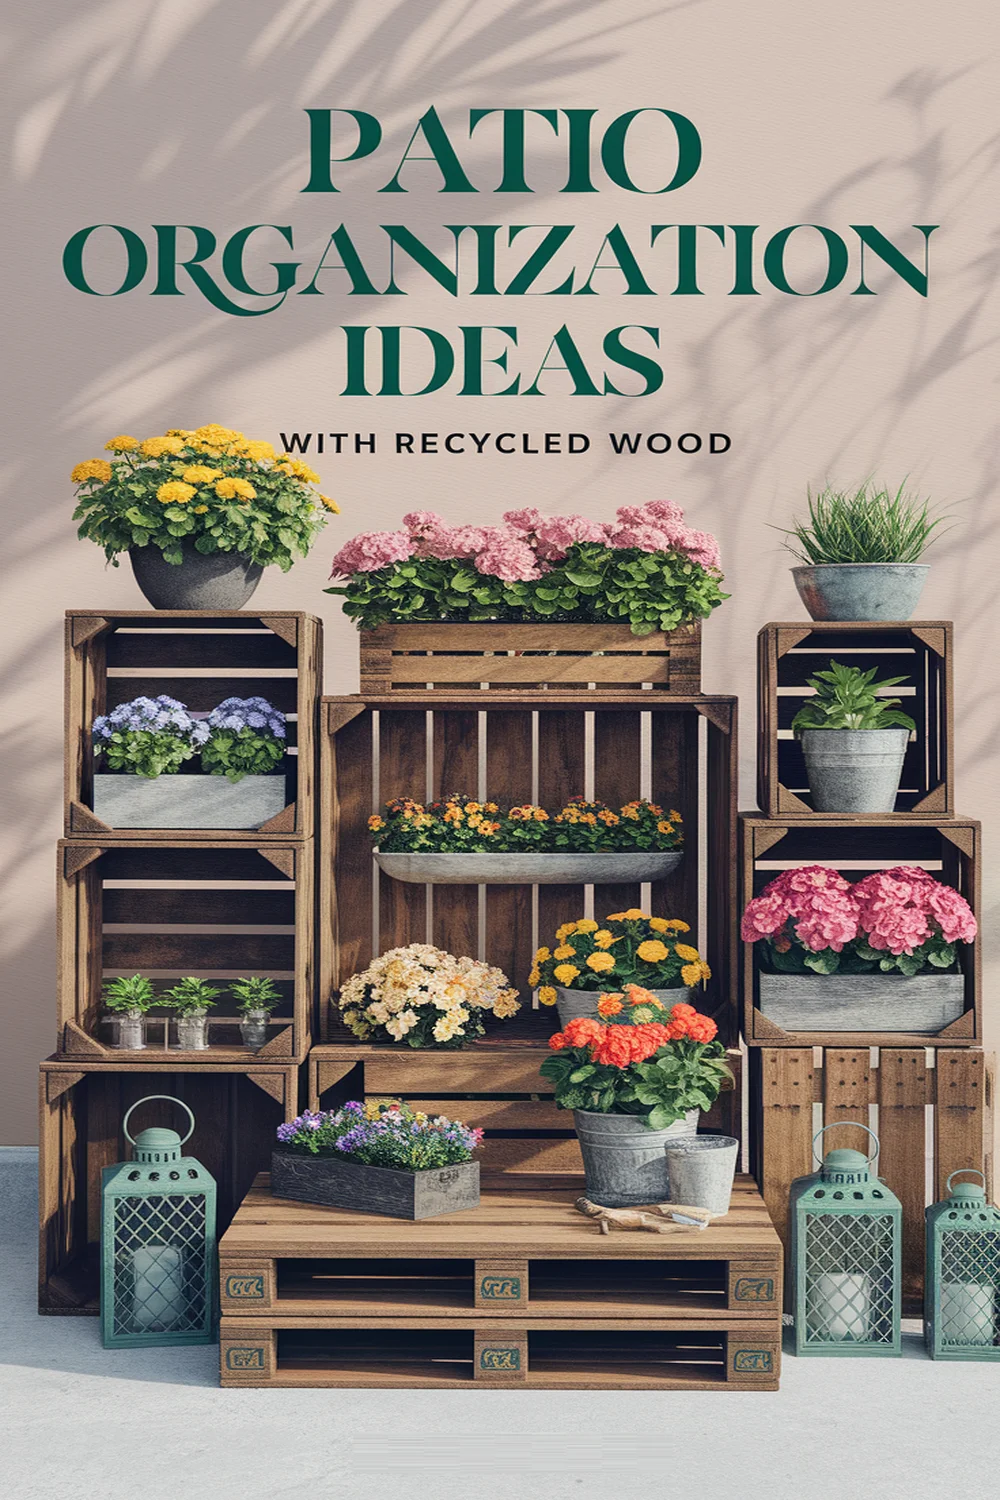
When I tackled my garage organization, I turned to recycled wood for creative storage solutions. It’s amazing how much character reclaimed planks add to shelves, racks, and decorative boxes. I maximized vertical space with wall-mounted shelves and pegboards for tools. Constructing a bike rack from old pallets was both eco-friendly and practical. Don’t forget to finish your projects with stain or sealant for durability. There’s so much more you can do with recycled wood—let’s explore further!
Assessing Your Garage Space
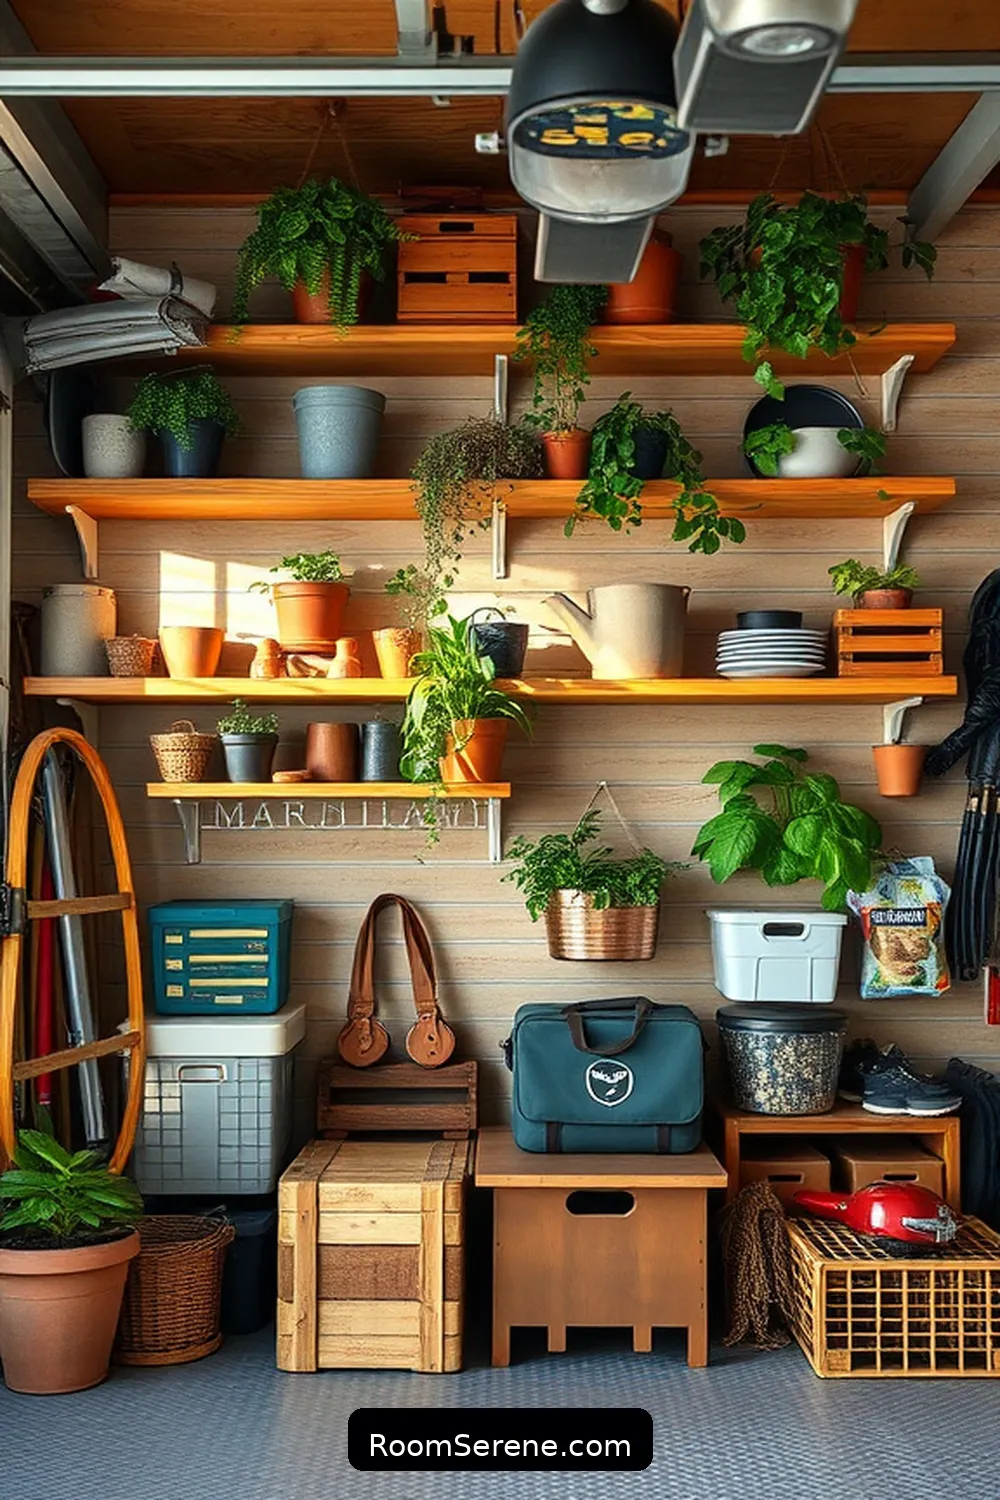
How can I best utilize the space in my garage? First, I take a good look around and identify what I truly need to store. I start by decluttering—getting rid of items I haven’t used in months.
Next, I measure the garage dimensions and note any obstacles like windows or pipes. This helps me visualize where I can place shelves or cabinets.
I also consider vertical storage; using wall space effectively can free up floor space. Group similar items together to make it easier to find what I need.
Finally, I think about accessibility—putting frequently used items in easy-to-reach spots. With a clear plan, I can transform my garage into an organized, functional space.
Recommended Items
Discover our top picks for products and tools that can help you create beautiful garage storage solutions with recycled wood!
Gathering Materials: What You’ll Need

After evaluating my garage space and deciding what to keep, it’s time to gather materials that will help me organize everything efficiently.
First, I’ll need some recycled wood, which I can source from old pallets or discarded furniture. A saw, drill, and screws will be essential for assembling the storage units.
To kickstart my project, I’ll gather recycled wood from old pallets and discarded furniture, along with essential tools for assembly.
Don’t forget a measuring tape—accurate measurements will save me from frustration later. I’ll also grab some sandpaper for smoothing edges and a wood finish to protect the surfaces.
A level will guarantee everything’s straight, and heavy-duty brackets will provide extra support for shelves.
Finally, I’ll collect any baskets or bins I already have to enhance my storage system. With these materials in hand, I’m ready to create some innovative solutions.
Designing Your Storage Solutions

As I plunge into designing my storage solutions, I realize that maximizing vertical space is key to an organized garage. I start by evaluating the wall height and available space, which guides my choices.
Wall-mounted shelves are a fantastic option; they keep items off the floor while still being easily accessible. I also consider pegboards for tools and smaller items, allowing me to customize my storage according to my needs.
Baskets and bins can help contain smaller items, making it easier to find what I need without digging through clutter.
Finally, I sketch out my ideas to visualize the layout and guarantee everything fits well. With thoughtful planning, I can transform my garage into a functional and inviting space.
Building Rustic Wooden Shelves

While I’m excited to tackle the project of building rustic wooden shelves, I know planning is vital for success. First, I gather my materials, focusing on recycled wood for that charming look.
Excited to build rustic wooden shelves, I prioritize planning and sourcing recycled wood for a charming touch.
Next, I sketch a simple design to suit my garage space. Here are a few key steps I follow:
- Choose the right wood: Look for sturdy, reclaimed planks with character.
- Measure and cut: Precision is essential; I double-check my measurements to guarantee everything fits.
- Assemble and finish: I use wood screws for durability and apply a protective finish to enhance the rustic aesthetic.
With these steps, I’m on my way to creating functional and stylish shelves that’ll elevate my garage’s organization.
Can’t wait to see the results!
Creating a DIY Pallet Storage Rack
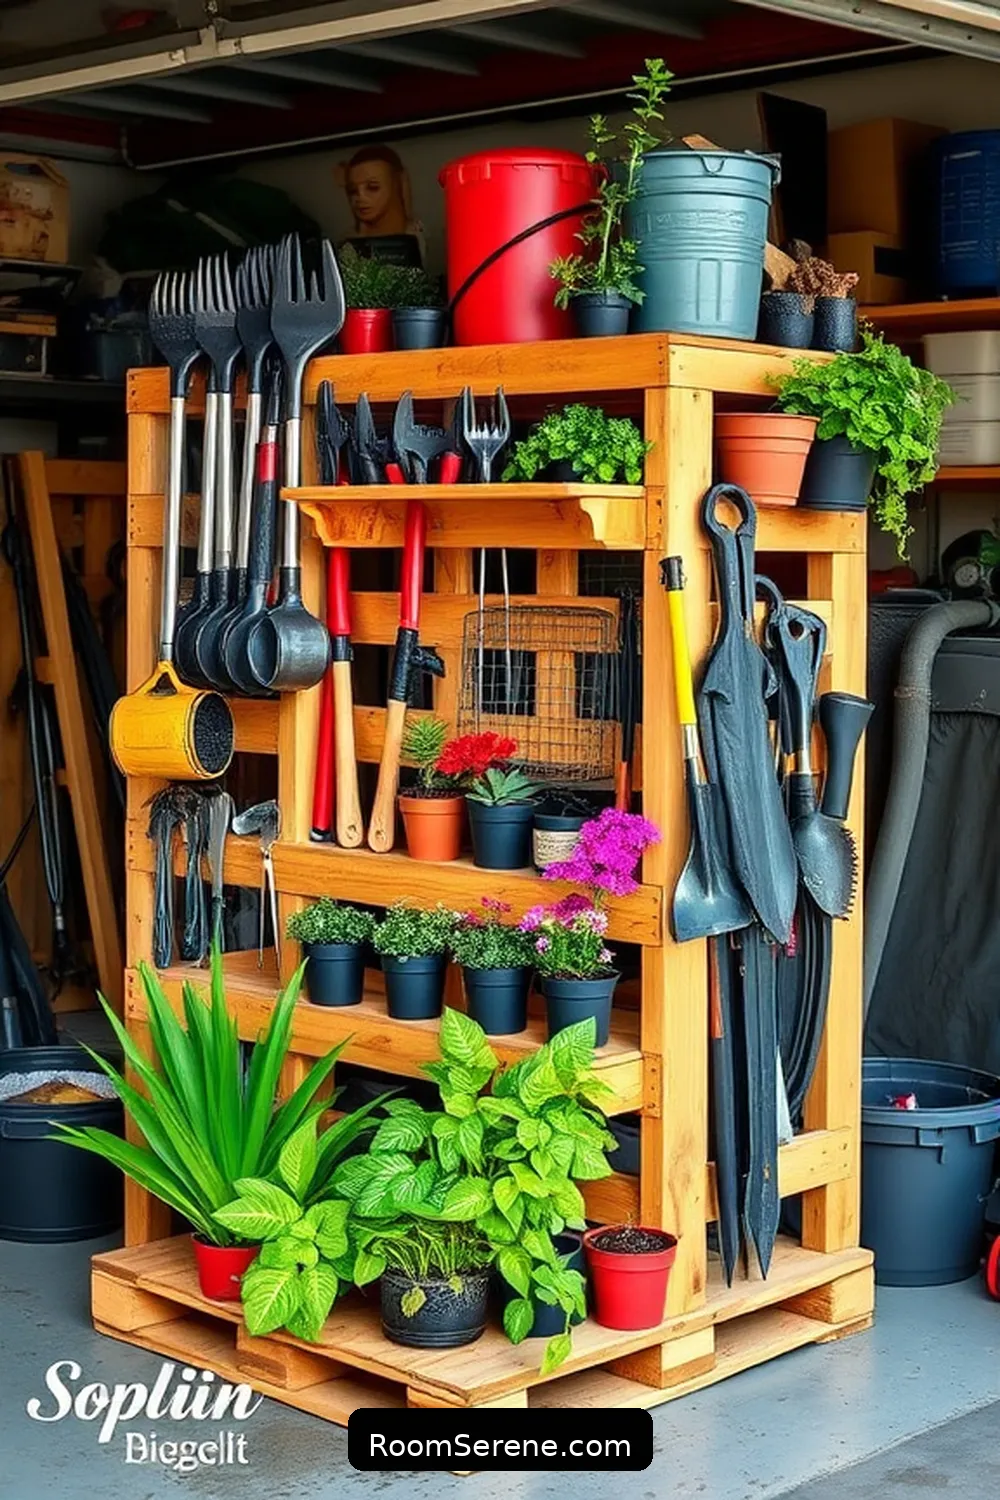
Building rustic wooden shelves was a rewarding project, but I quickly realized my garage could benefit from another clever solution: a DIY pallet storage rack. This simple yet effective design not only helps organize my space but also utilizes recycled wood creatively. Here’s a quick overview of what you’ll need:
| Material | Quantity |
|---|---|
| Wooden pallets | 2-3 |
| Screws | 20-30 |
| Wood stain/paint | Optional |
| Sandpaper | 1 pack |
| Brackets | 4 |
To start, I disassembled the pallets and sanded them down. Then, I assembled the rack to fit the garage space perfectly. It’s a fantastic way to maximize storage while keeping things looking rustic and stylish!
Crafting a Wall-Mounted Tool Organizer

Creating a wall-mounted tool organizer transformed my chaotic garage into a well-structured space, making it easy to locate my tools at a moment’s notice.
With a few pieces of recycled wood and some basic tools, I crafted a functional and stylish organizer that suits my needs perfectly. Here’s how I did it:
Using recycled wood and simple tools, I created a stylish organizer tailored to my garage needs.
- Choose the right wood: I used old pallets and sturdy planks, ensuring they could hold the weight of my tools.
- Design your layout: I sketched a plan, deciding where to place hooks and shelves for maximum efficiency.
- Secure it well: I mounted the organizer to the wall using heavy-duty brackets, ensuring it’s stable and safe.
This project not only decluttered my garage but also gave me a sense of accomplishment.
Repurposing Old Crates for Storage
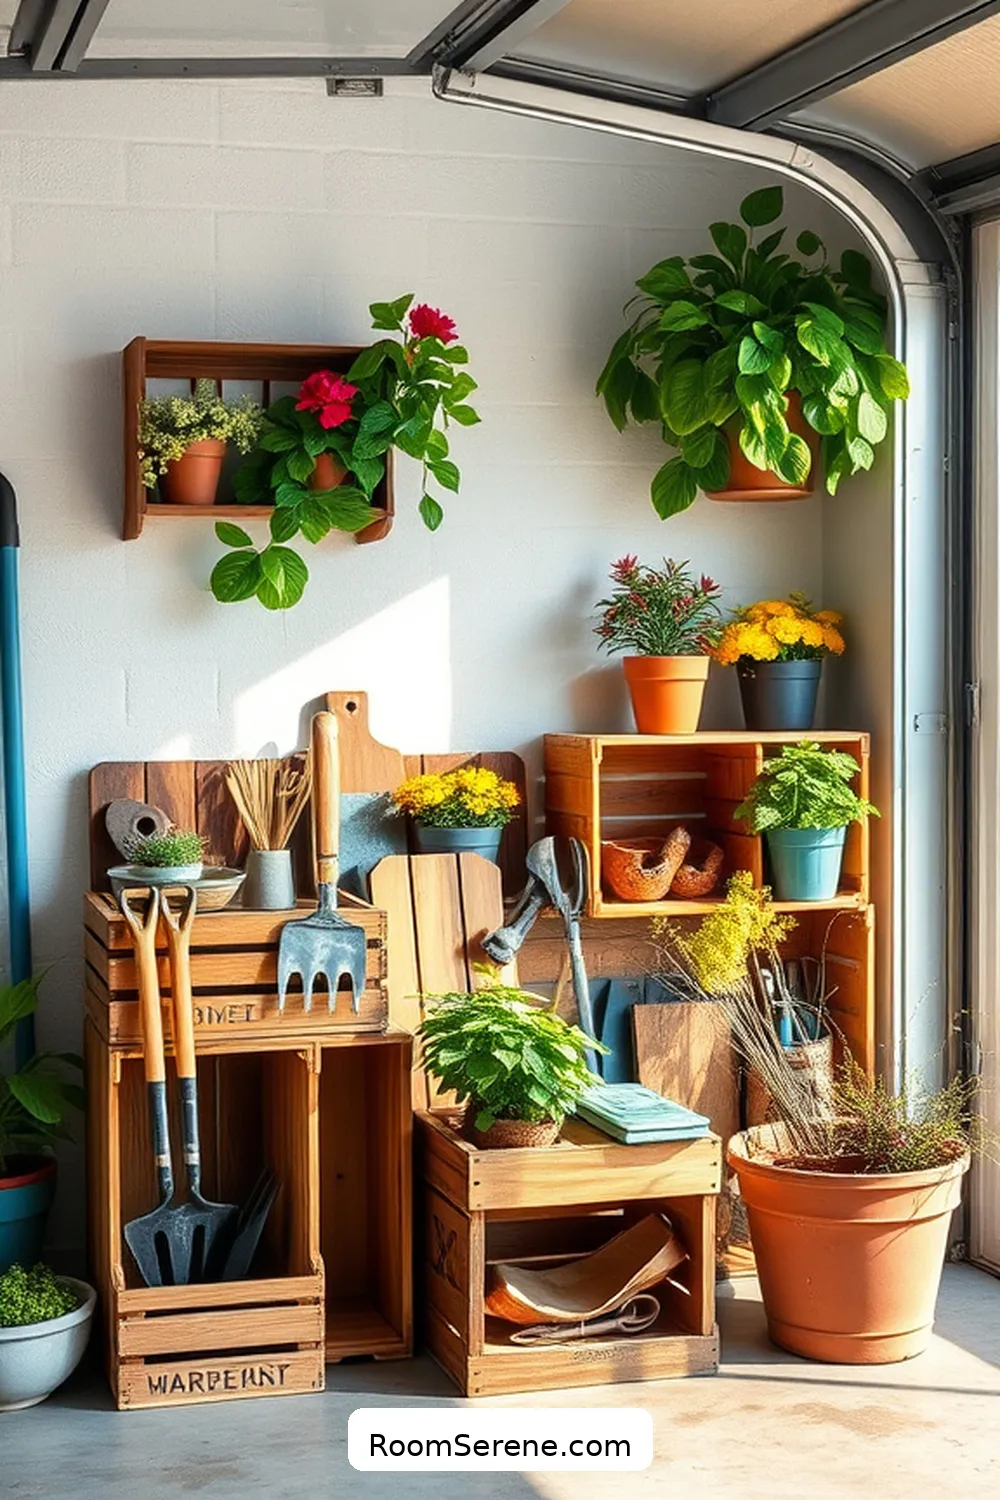
When I discovered a stack of old wooden crates in my garage, I realized they could be transformed into practical storage solutions.
These crates are perfect for organizing everything from gardening tools to sports equipment. I started by giving them a good clean and a quick sanding to remove any rough edges.
Then, I painted them in vibrant colors to add a pop of personality to my garage. I stacked some crates to create multi-functional shelves, while others I hung on the wall for easy access.
Using crates not only keeps my garage tidy but also adds a rustic charm. Plus, it’s a sustainable way to repurpose wood and save money on new storage options.
You can do it too!
Constructing a Multi-Level Storage Cabinet

After transforming old crates into charming storage solutions, I realized my garage still needed more organization.
So, I set out to construct a multi-level storage cabinet using recycled wood. Building this cabinet not only maximized my space but also added a rustic touch to the garage.
Here’s how I did it:
- Gather materials: I used old wooden pallets and scrap wood to keep costs down.
- Design the layout: I planned multiple shelves to accommodate various items, from tools to gardening supplies.
- Assemble with care: Using wood screws and a sturdy finish, I made certain everything was stable and secure.
Creating this cabinet was both rewarding and practical, helping me declutter while showcasing my DIY skills!
Making Use of Vertical Space With Hanging Baskets

To make the most of my garage’s vertical space, I turned to hanging baskets, which not only keep items off the floor but also add a unique decorative element.
I found various sizes that fit my needs perfectly, from small baskets for tools to larger ones for gardening supplies. By mounting sturdy hooks on the wall or ceiling, I created an organized and visually appealing storage solution.
I also labeled each basket, making it easy to grab what I need without rummaging through piles. It’s amazing how much space I saved!
Plus, these baskets encourage me to keep my garage tidy. If you’re looking to maximize your space, hanging baskets are definitely worth considering.
Step-by-Step Guide to Garage Storage
Designing a Custom Workbench With Storage
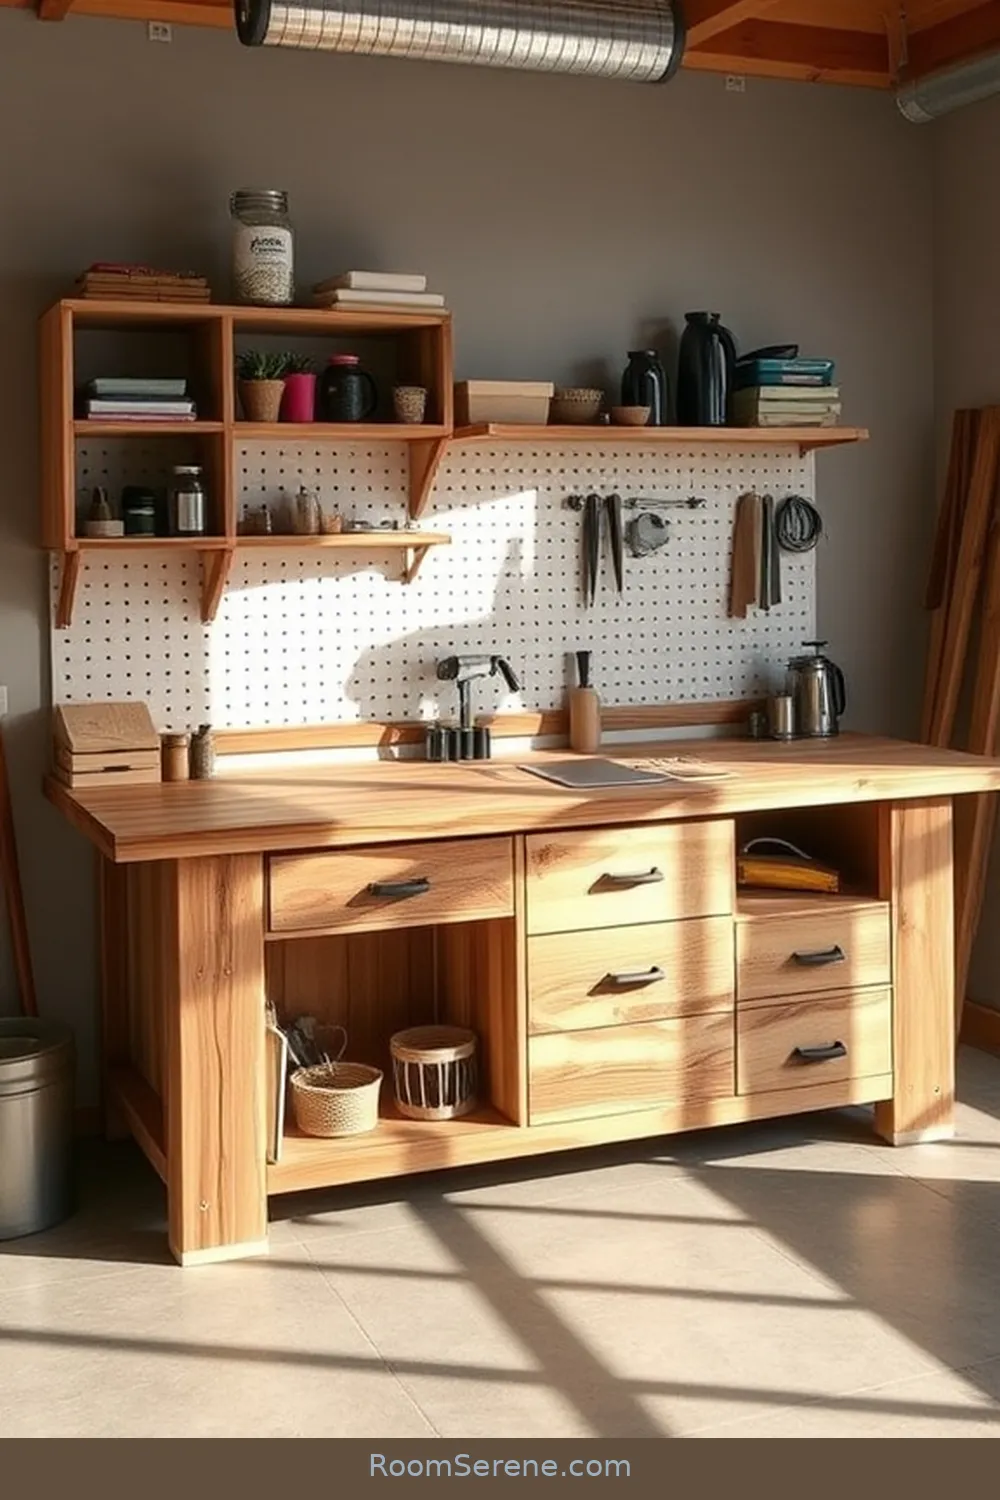
A well-designed workbench can transform your garage into a functional workspace, and incorporating storage is a game changer.
When I set out to create my own custom workbench, I focused on practicality and efficiency. Here are a few key features I included:
- Under-bench drawers: These keep tools and supplies organized and easily accessible.
- Pegboard back wall: I mounted a pegboard above the workbench for hanging tools, maximizing vertical space.
- Shelving units: I added shelves underneath for larger items and storage bins, keeping everything neat.
Building a Bike Rack From Recycled Wood

Creating a custom workbench not only enhances your garage’s functionality but also inspires other DIY projects, like building a bike rack from recycled wood.
I found that using old pallets or leftover boards transformed my cluttered space into an organized haven.
Start by measuring your bikes’ dimensions and determining how many you’ll store. Cut the wood into suitable lengths for the base, supports, and bike holders.
Assemble the base securely and add vertical supports for stability. For the bike holders, simple angled cuts allow the bikes to rest easily.
Sand the edges to prevent splinters, then finish with a weather-resistant sealant.
In no time, you’ll have a sturdy, eco-friendly bike rack that not only saves space but showcases your craftsmanship!
Creating Decorative Wooden Boxes for Small Items

While organizing small items can feel overwhelming, crafting decorative wooden boxes is a simple and rewarding solution. I love using recycled wood to create unique storage that’s both functional and stylish.
Here’s how I approach it:
- Choose Your Wood: Look for old pallets or scrap wood; it adds character to your boxes.
- Design and Cut: Sketch a simple design tailored to your items, then cut the pieces to size.
- Finish and Decorate: Sand the edges smooth and apply a finish or paint to match your garage décor.
These boxes not only keep your small items organized but also add a personal touch to your space.
It’s a fun project that transforms clutter into beauty!
Adding Hooks and Pegboards for Easy Access

In my experience, adding hooks and pegboards can dramatically improve organization in your garage. By installing a pegboard, I’ve created an easy-access area for tools and equipment. Hooks allow me to hang items like shovels, rakes, and hoses, keeping them off the floor and out of the way. Here’s a quick table of items I’ve found most useful:
| Item | Hook Type |
|---|---|
| Shovels | Large hook |
| Extension cords | Medium hook |
| Bicycles | Heavy-duty hook |
| Garden tools | Small hook |
These solutions not only save space but also make it easier to find what I need without rummaging through clutter. You’ll love how organized your garage can become!
Finishing Touches: Staining and Sealing Your Projects
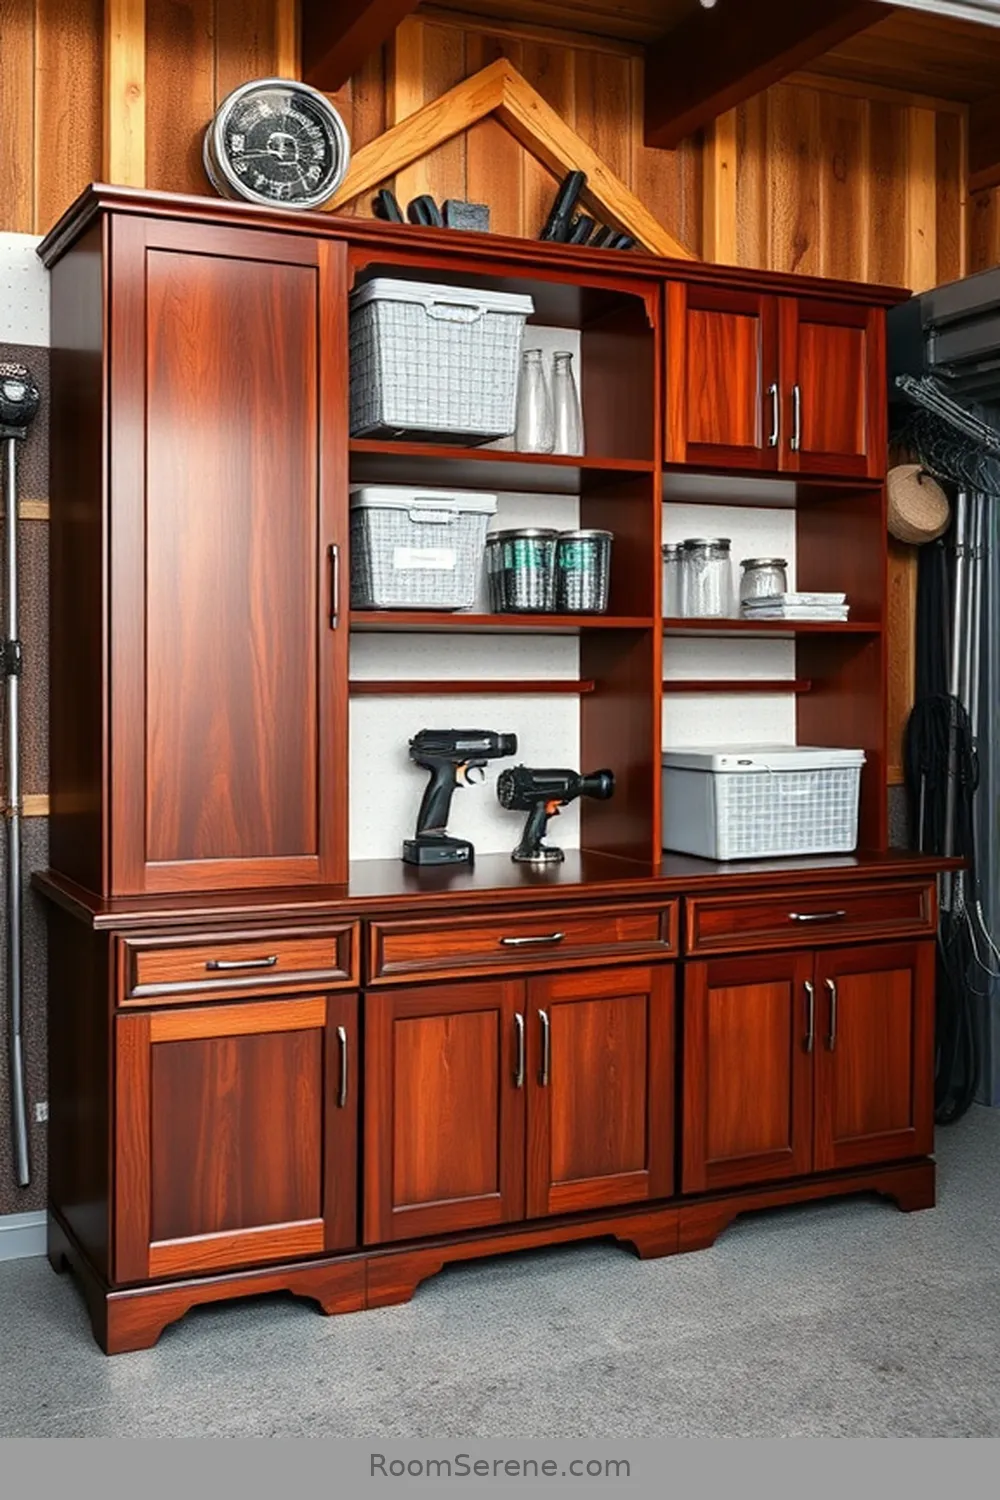
As I wrap up my garage organization projects, I can’t stress enough the importance of staining and sealing your wooden shelves and structures.
Not only does this enhance their appearance, but it also protects them from moisture, dirt, and wear over time.
Enhancing appearance while protecting against moisture, dirt, and wear is essential for long-lasting wooden structures.
Here’s what I recommend when finishing your projects:
- Choose a stain that matches your garage’s aesthetic while highlighting the wood grain.
- Seal with a quality finish like polyurethane to guarantee durability, especially in a high-use space.
- Apply multiple coats for added protection, allowing each layer to dry completely before adding the next.

